9
Dec
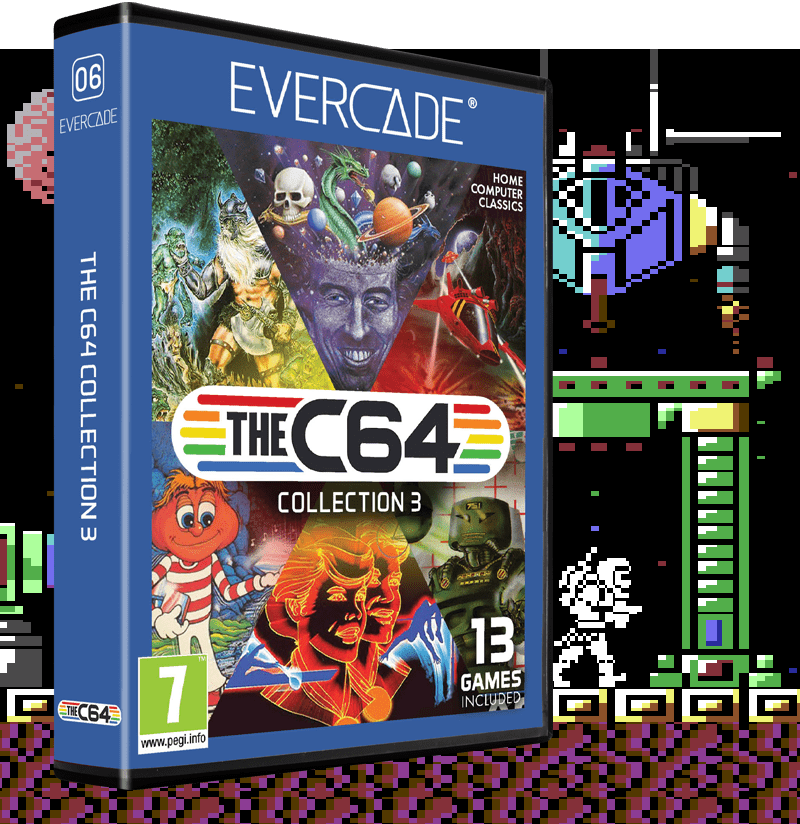
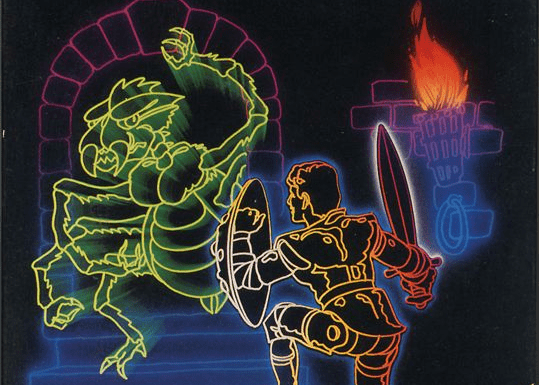
Evercade Game Spotlight: Gateway to Apshai (TheC64 Collection 1)
We’ve previously given Gateway to Apshai from TheC64 Collection 1 a shout-out in our Top 5 RPGs article, but it’s a game well worth taking a closer look at, particularly if you’re yet to immerse yourself in its simple but challenging, engaging dungeon-crawling action. So that’s exactly what we’re going to do today!
To understand the historical context of Gateway to Apshai, it’s necessary to go back a few years prior to its release. Specifically, we need to look back to 1979, when publisher Epyx released a game known as The Temple of Apshai, initially for TRS-80 and Commodore PET and subsequently for a range of other home computers throughout the 1980s.
The Temple of Apshai (pictured above in its PET incarnation) is one of the first ever examples of a graphically represented computer-based role-playing game, hitting the market some five years after the first appearance of Dungeons & Dragons, which kicked off modern tabletop role-playing games as we know them today.
Although today The Temple of Apshai is not nearly as well-known as more famous titles such as Richard Garriott’s Akalabeth, the precursor to the legendary Ultima series, it was an enormous success in its day, selling 30,000 copies by the middle of 1982. That was a lot back then, considering the relatively limited install base of home computers in general.
The Temple of Apshai spawned a broader series of games running using a similar system, collectively known as Dunjonquest. Two of these titles were expansions to the original The Temple of Apshai, while others were standalone affairs. It was fair to say that computer role-playing had captured the imagination of a significant portion of home computer owners — but developer The Connelley Group and publisher Epyx, having a keen awareness of how gaming enthusiasts of the early ’80s liked arcade-style action just as much as more strategic, tabletop-like affairs, decided to try something different.
And so it was that Gateway to Apshai came to be. Narratively speaking, the game positions itself as a prequel to The Temple of Apshai, with the player taking on the role of the son of Apshai’s greatest warrior, tasked with clearing a path to the titular temple, ridding the route of monsters and curses and allowing the people to once again enjoy prosperity. Mechanically speaking, meanwhile, Gateway to Apshai ditches The Temple of Apshai’s turn-based, tabletop-style mechanics in favour of real-time action inspired by arcade games, but still including elements of the nascent role-playing game genre.
The result was an extremely well-received game. Writing in the January-February 1984 issue of Softline magazine, reviewer Derrick Bang (yes, really) opened his appraisal of the game with the simple sentence “this is a great game” before going on to praise how Gateway to Apshai successfully simplified The Temple of Apshai’s complex mechanics and keyboard commands into a much more straightforward affair that could be played using just a joystick and the computer’s function keys — or, many years later, an Evercade controller.
Meanwhile, in the Commodore-centric Ahoy! magazine’s April 1984 issue, reviewers Lenny Nelson and Robert J. Sodaro called it “a must for D&D freaks” and praised how “all of the programming has gone into D&D-style permutations and the incredible number and variety of rooms and pitfalls”.
So let’s take a closer look at how Gateway to Apshai plays, and by the end of this all you’ll have a better idea at how to succeed, placing high scores and deep dungeon delves well within your reach!
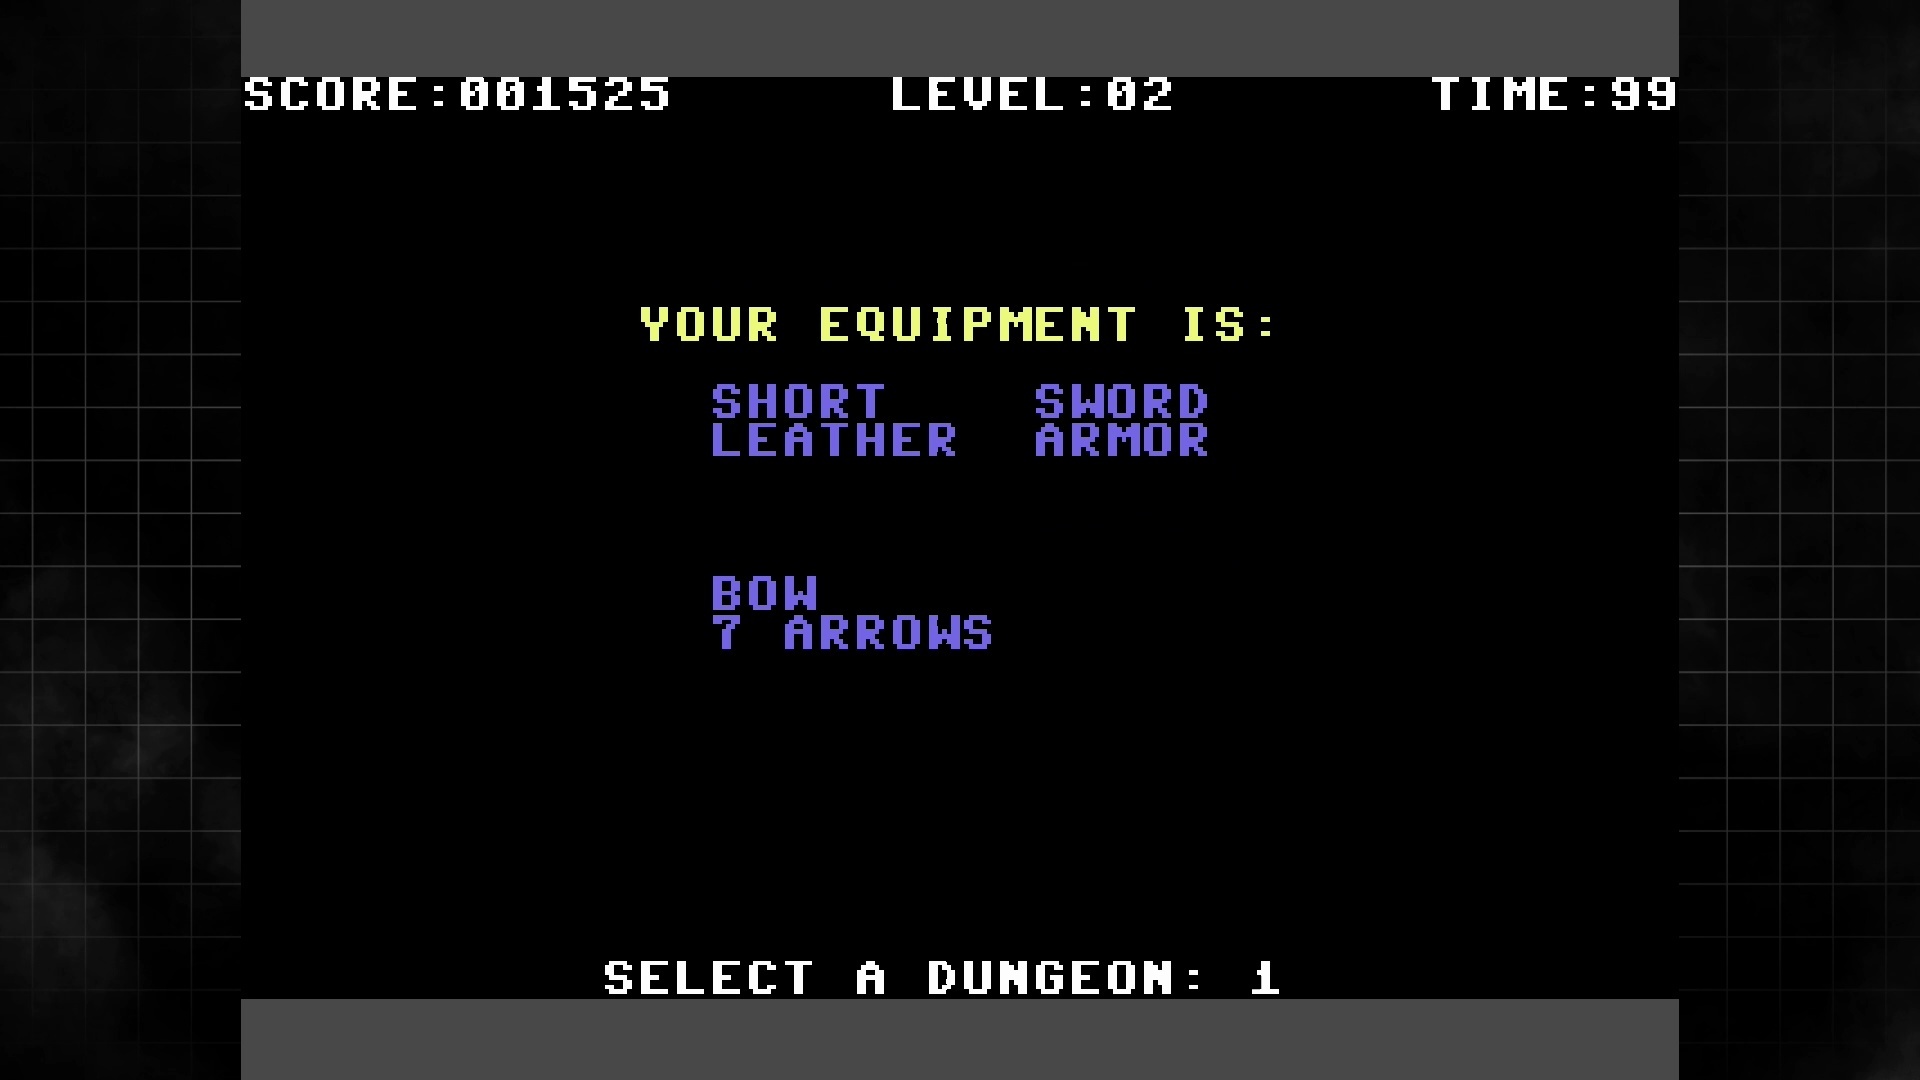
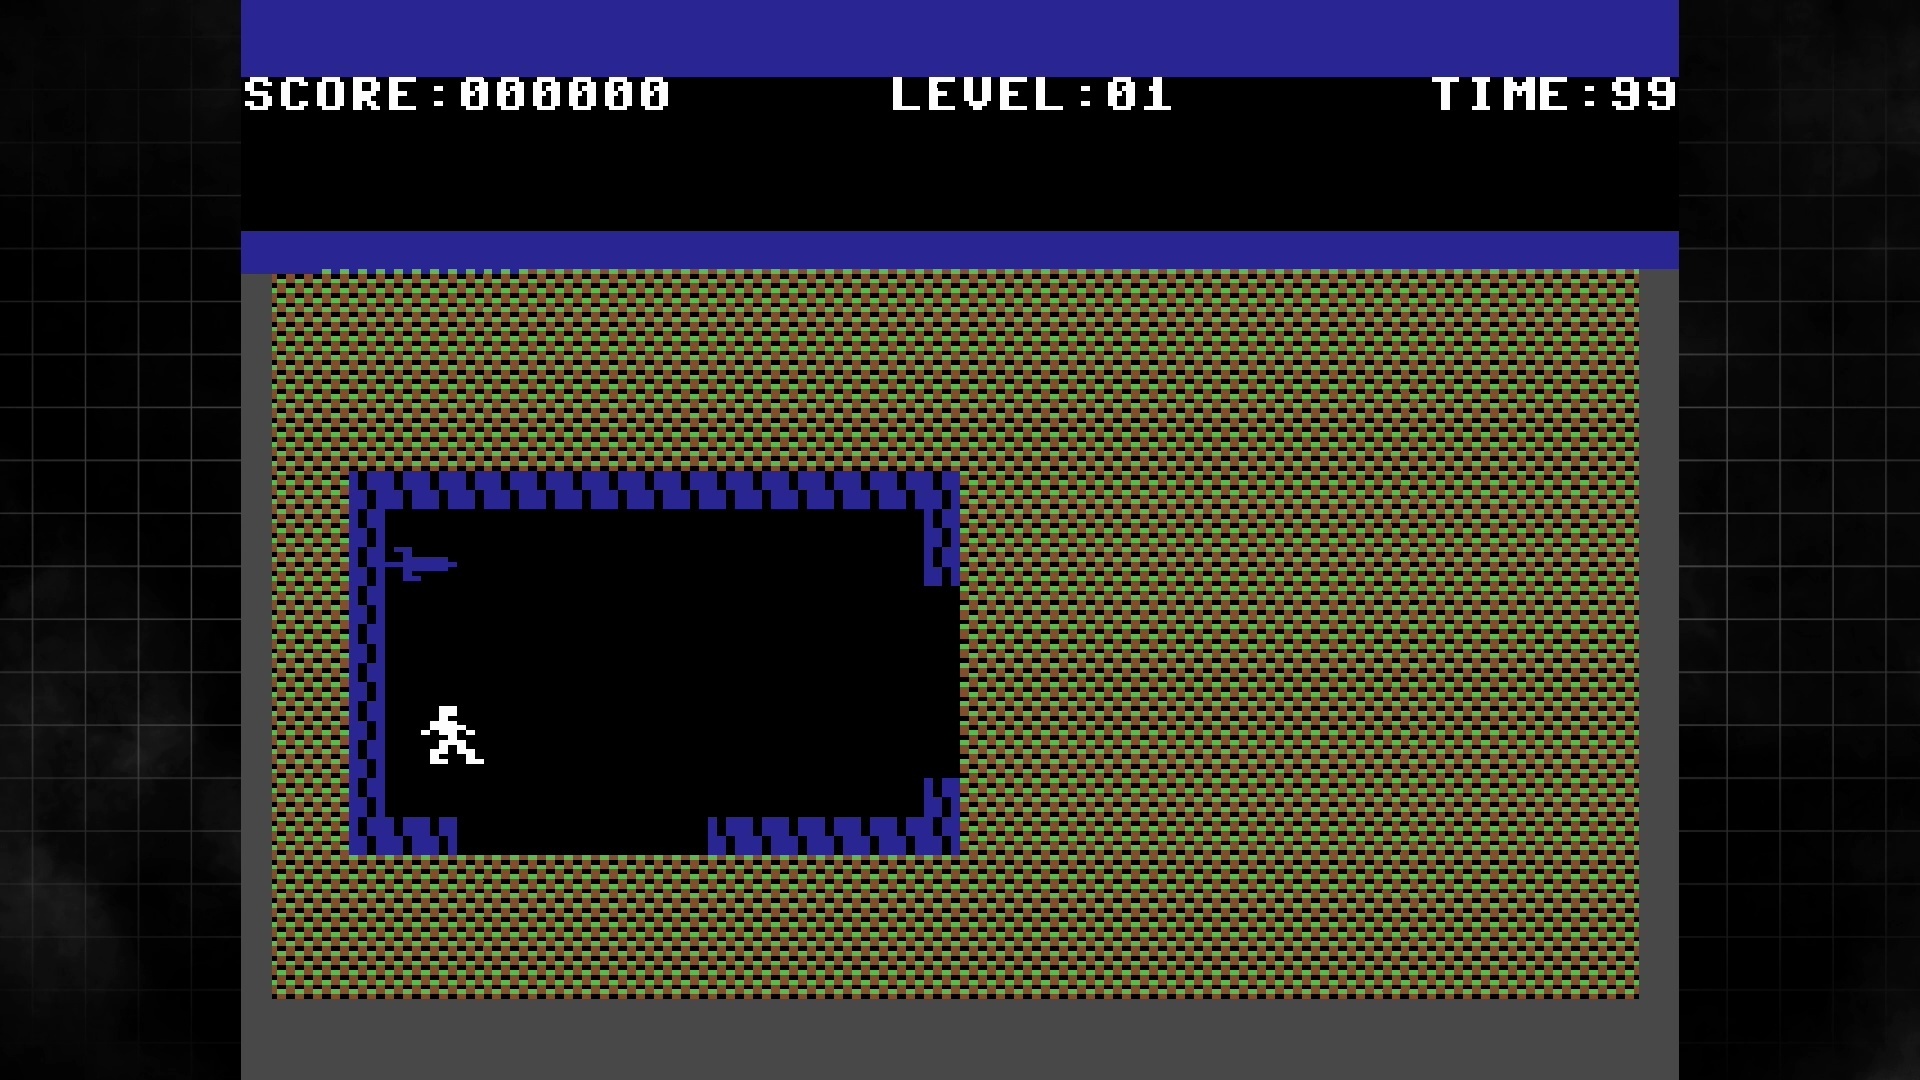
You begin the game with a dagger, leather armour and three points in your three main statistics: strength, agility and luck.
The sum of these three statistics equals your maximum hit points, so you also begin the game with the ability to take up to nine points of damage before expiring — though unlike most role-playing games, where death means either the end of your game or at the very least reloading a save, here you also have five lives.
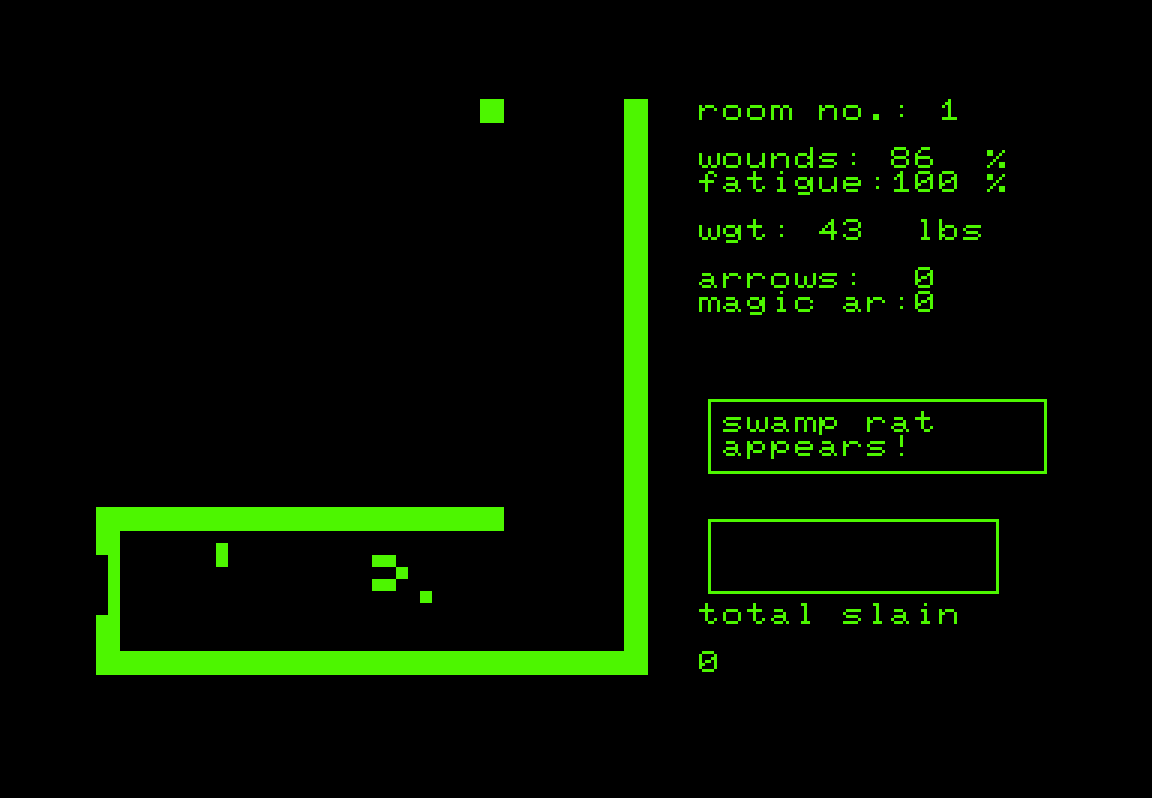
One of the first things to note is that despite the narrative setup, it’s not actually possible to “finish” Gateway to Apshai; it perpetually loops once you reach the eighth level, though this doesn’t just mean you’ll be playing the same thing over and over. The reason for this is that each level of the game actually plays host to 16 different dungeons that you can explore, meaning that while the game isn’t fully randomised like a roguelike, you can at least make each run through the game a little different from the last simply by picking different dungeon numbers.
To choose which dungeon you’d like to explore before each level begins, use the D-Pad and the B button. Note that any time the game refers to “trigger” — originally the C64’s single joystick button — you should press B.
Given that you can’t “beat” the game, then, what’s the point? Well, a high score, of course! This is the main way in which Gateway to Apshai takes influence from arcade games: your sole aim is to amass as high a score as possible by gathering treasure from each level before your inevitable demise at the hands, claws and/or fangs of the various dungeon denizens.
Once you’re into the dungeon proper, you’ll see that most of the map is concealed by a “fog of war” of sorts; in order to reveal other rooms and passageways, you’ll need to walk into the unknown to reveal it. Usually, this is automatic, but sometimes you’ll see walls with striped markings on them. These are doors, and in order to open these you’ll need to press the X button until the word “KEYS” appears at the bottom of the screen, then press B when standing near the door to open it.
If you press X a few times, you’ll notice that the status bar cycles around a number of different options. These are as follows:
- KEYS – stand in front of a door and press B to open it.
- LOCATE TRAP – press B to search for traps in the direction you’re facing. It may take a few attempts to discover them, if they’re present. They will appear as an icon on the map when you’ve spotted them, and stepping on them will cause something to happen — usually damage, but sometimes teleportation to another area on the same level.
- SEARCH SPELL – press B to search for secret doors in the direction you’re facing. Like the LOCATE TRAP spell, it may take a few attempts to find them, even if you know they’re there. Once discovered, a secret door can be opened with the KEYS option as normal.
- DROP ITEM – hopefully self-explanatory. Press B to bring up a list of everything you’re carrying, then use the D-Pad and B to select something you want to drop. Since you have a limited carrying capacity, you’ll probably want to drop useless duplicates of equipment you already own, or items that are inferior to what you have.
- CHECK SUPPLIES – press B to show your inventory without dropping anything.
- CHECK STATUS – press B to show your current stats. This is the only way to check your present health, so be sure to give this a look if you’ve taken damage recently.
- CHECK WEAPONS – press B to show your current equipment, including armour as well as weapons.
- NEXT LEVEL – press B to advance to the next level if you’re absolutely convinced you’ve found everything. This will also occur automatically if the time limit expires. More on this in a moment.
You’ll likely find some useful items before long. To use them, press the Y button to cycle around them until the name of the item you want appears in the status panel, then B to either use the item immediately if it’s something like a healing salve or a magic scroll, or to equip the item if it’s a weapon, arrows, piece of armour or shield. If you equip an item of a type that you already have equipped, you’ll swap the new item with the old one, and the old one will be placed back into your inventory.
Note that it is possible to equip both a melee weapon and a bow simultaneously, and you will need to equip arrows separately from the bow. Use CHECK WEAPONS from the X button options to confirm you have equipped everything you think you need. Also note that due to programming limitations, it is indeed possible to wield both a two-handed sword and a shield at the same time.
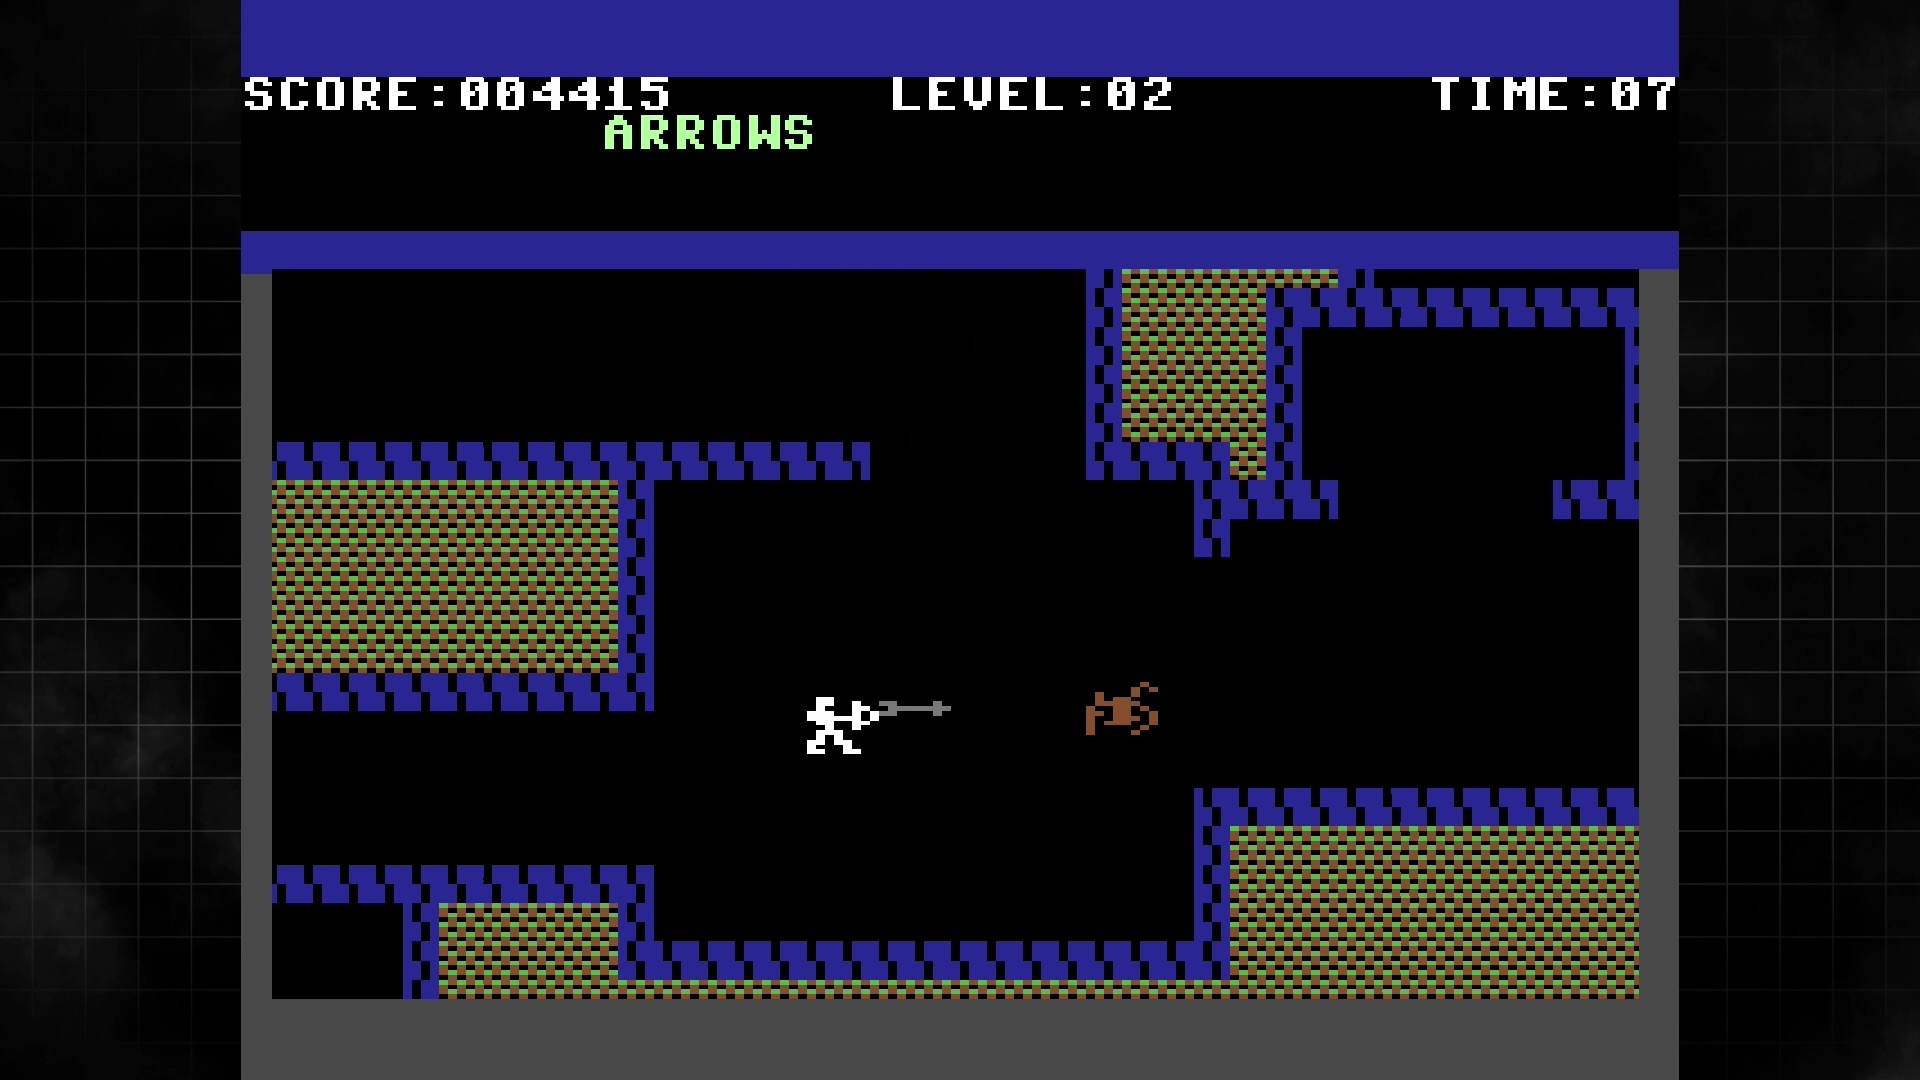
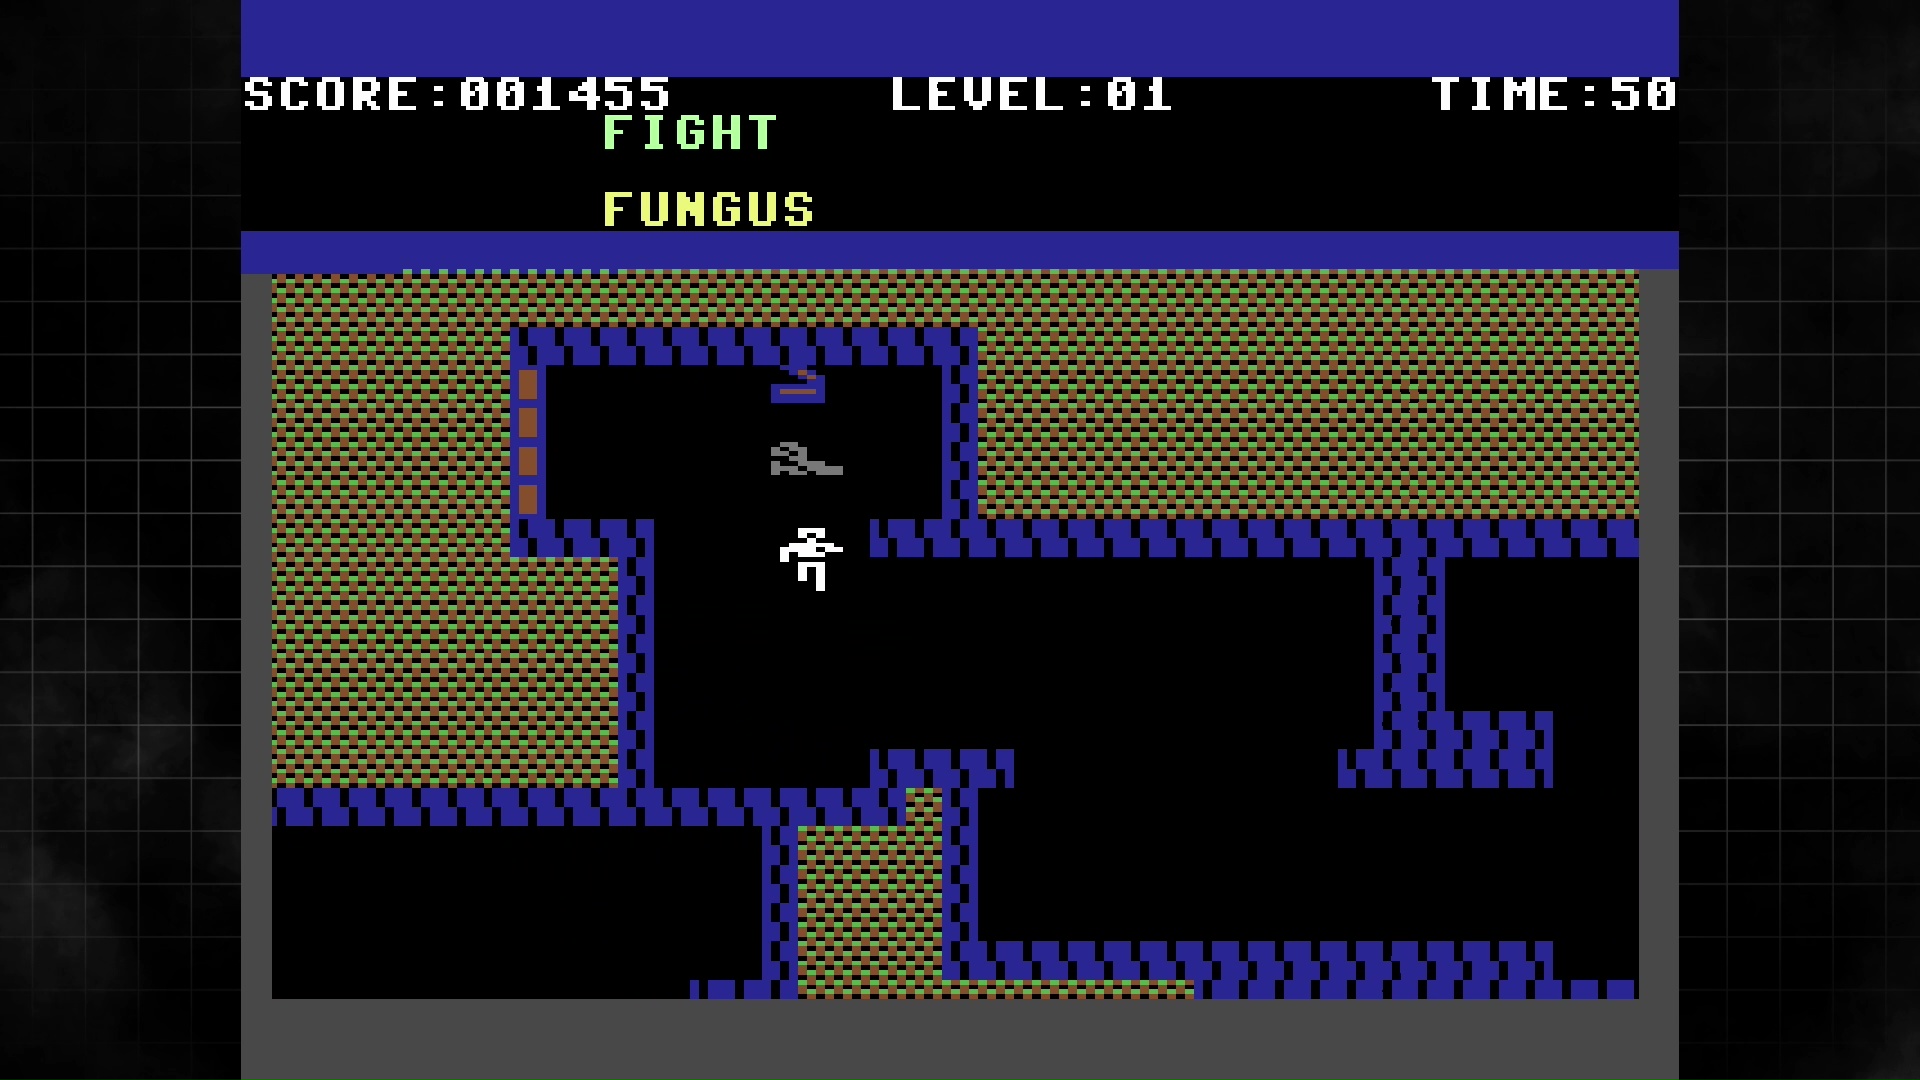
To fight, hit the A button to choose either FIGHT or ARROWS depending on if you want to fight up-close and personal or from range, then press the B button to use your weapon. In FIGHT mode, you’ll swing your sword in the direction you’re facing; in ARROWS mode you’ll fire an arrow in the direction you’re facing.
If you land a hit on an enemy, the screen will flash green; if an enemy hits you (or you stumble into a trap), the screen will flash red. Note that armour and shields have a chance of preventing you from losing health when you’re hit, meaning that a red flash doesn’t necessarily mean you’ve actually lost health points. You can avoid being hit by enemies by ensuring the enemy sprite does not overlap your main adventurer icon; likewise, you’ll always hit so long as your sword or arrow sprite overlaps the enemy sprite. As you progress into deeper levels, enemies will become faster and tougher, and it becomes more useful to bait them into getting stuck in corners or using helpful items like stun spell scrolls.
One important thing worth noting is that you score no points for defeating enemies; they’re just there to get in the way. Instead, all your points are attained by collecting treasure chests, which will reveal their contents in the status bar when you walk over them. Treasure scoring is determined by a combination of two factors. Firstly, the material from which the treasure is made decides the base value of the treasure, and this is then multiplied by the number of the level you’re on. The base values of the different materials are as follows:
- LEAD – 0 points!
- IRON – 10 points
- BRONZE – 25 points
- SILVER – 50 points
- GOLD – 100 points
- JEWELED – 1,000 points
Thus if you collect a JEWELED item on level 8, you’ll get 8,000 points! The trade-off, of course, is that deeper levels are much more dangerous — and, of course, you don’t know what a chest contains until you grab it.
Even the seemingly worthless LEAD treasures are worth collecting, however, because at the end of a level, whether you’ve chosen NEXT LEVEL or time has expired (there’s no “staircase” or “exit” to find), your statistics will increase according to the proportion of total treasures on the level you just left that you found.
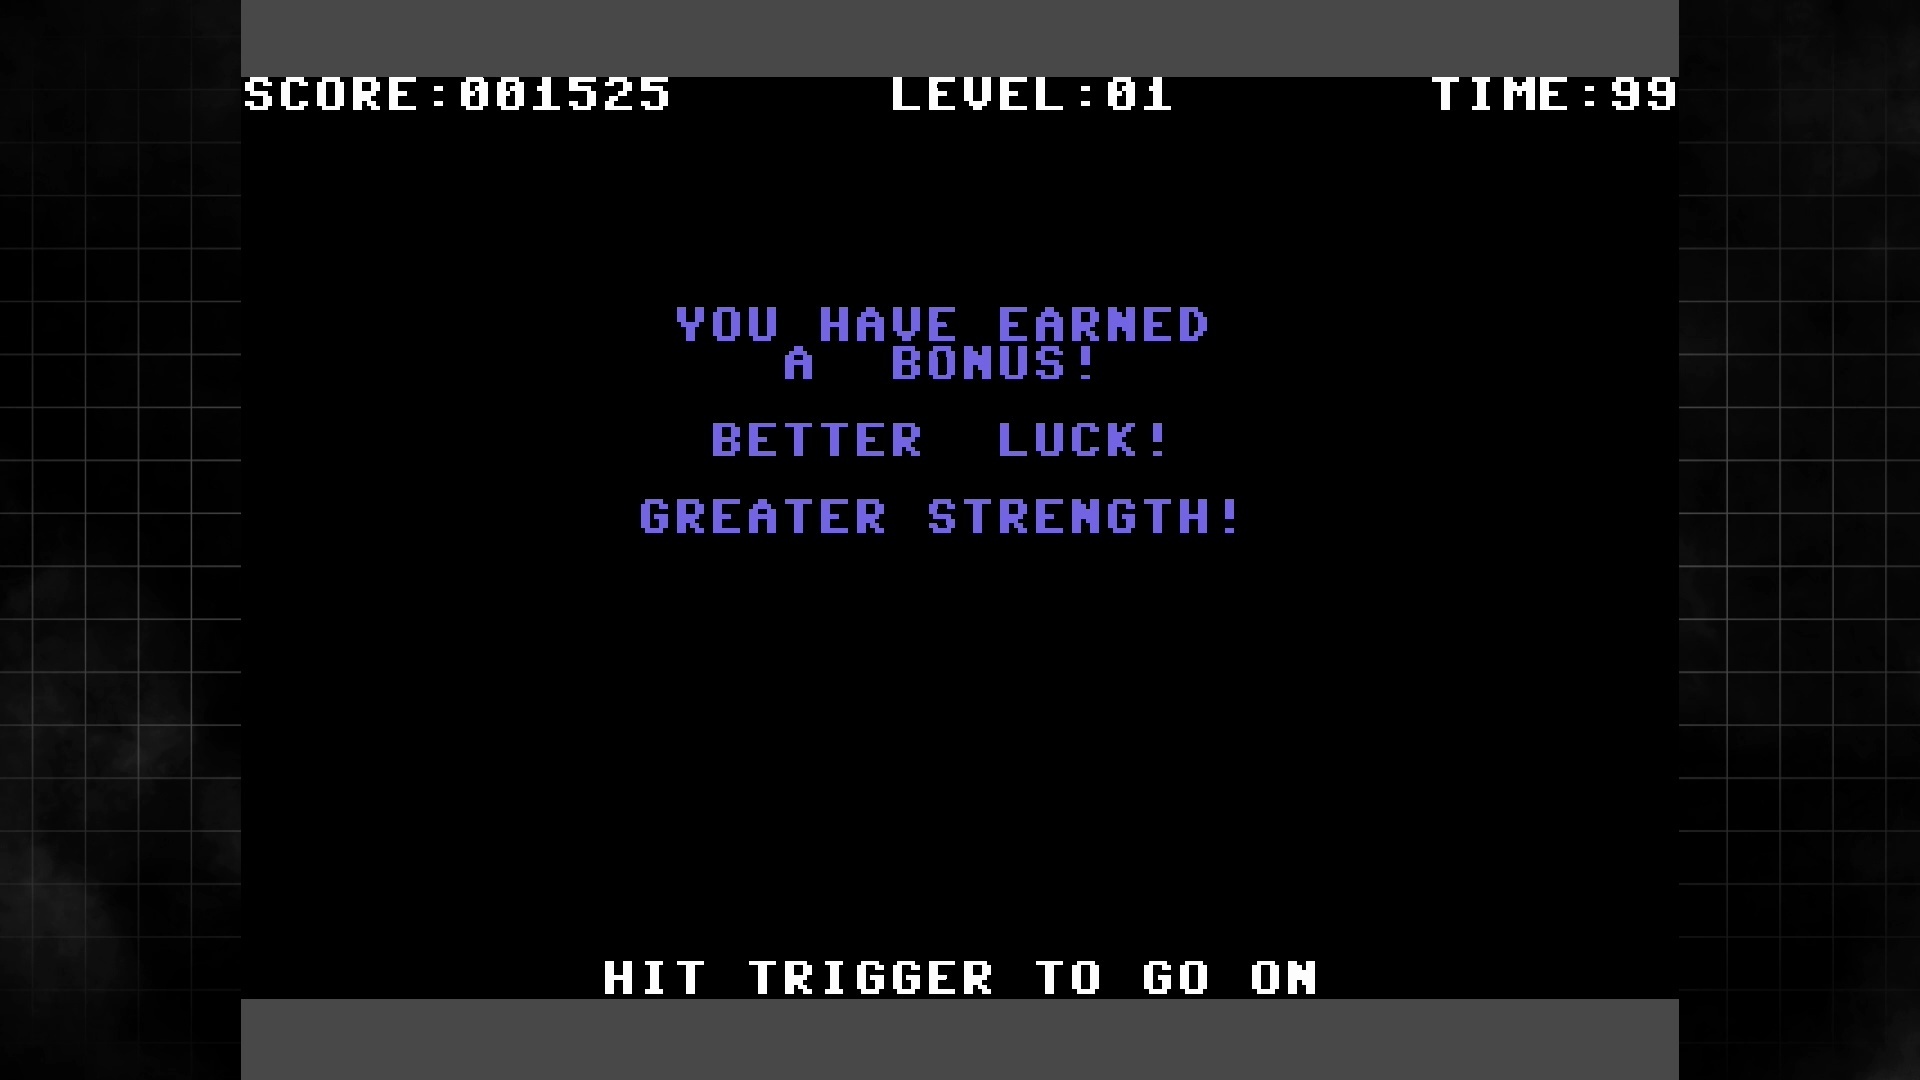
Collect everything and all three of your statistics will increase; any less and only one or two will increase, and if you were really lax on your treasure hunting, your stats may not go up at all! Remember that your maximum health value is equal to the total of your three statistics, so it’s worth raising all three as high as possible. You can also raise stats by finding and immediately using agility amulets, luck charms and strength stones, though you’ll stop seeing the benefit of these after the stat in question hits 9.
That’s basically everything you need to know to get started with Gateway to Apshai — though there’s a couple of items you might discover later in the game that we’ll leave you to figure out for yourselves! Remember that this was still early days for the computer role-playing game, so the most obvious use of an item is inevitably what it’s actually for.
Good luck, then — and happy adventuring!
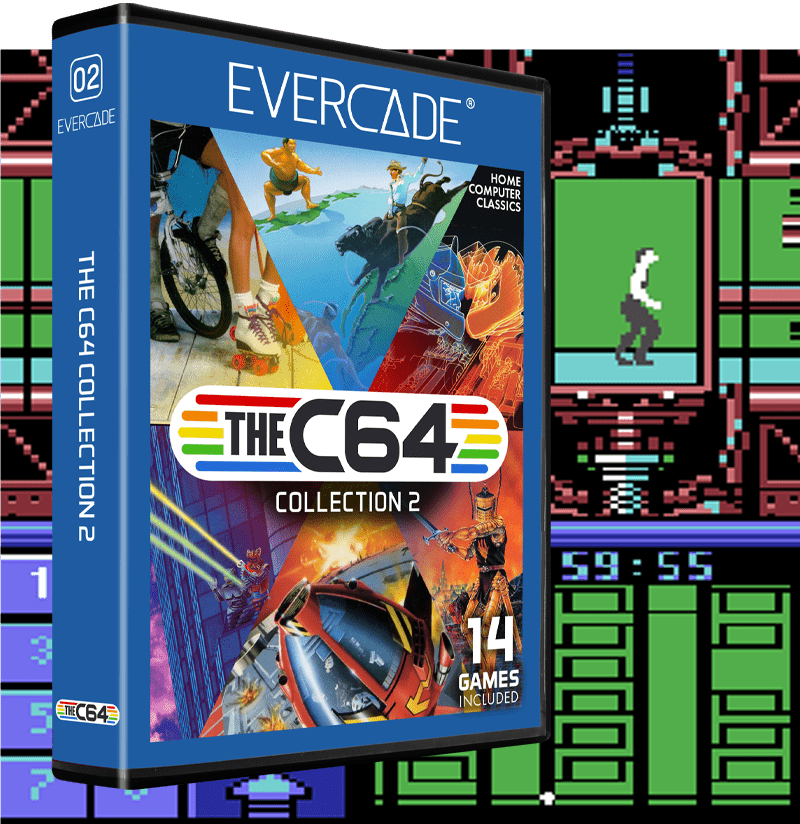
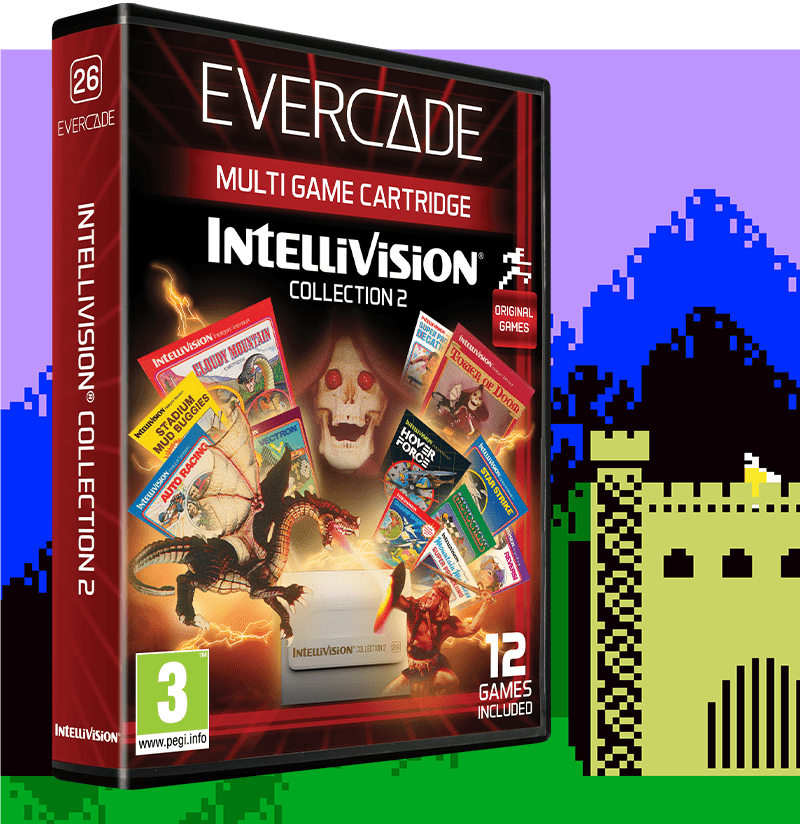
Gateway to Apshai is part of TheC64 Collection 1 for Evercade. Find out more here. If you enjoy this game, you may also want to check out Tower of Doom and Cloudy Mountain on Intellivision Collection 2.