12
Dec
Evercade Game Spotlight: The Sword of Ianna (Home Computer Heroes Collection 1)
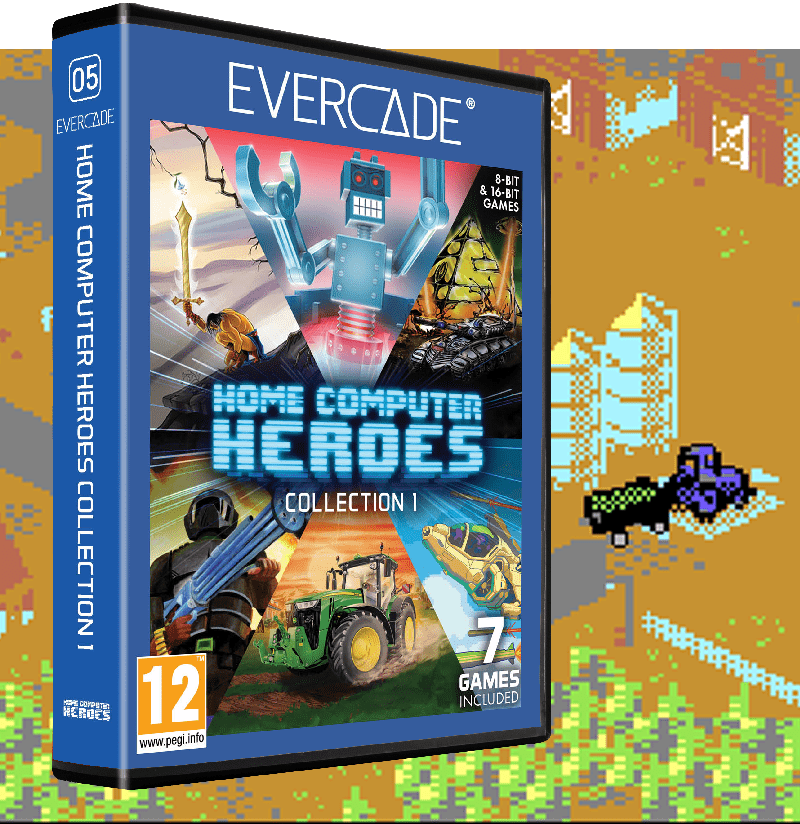
Our Home Computer Heroes Collection 1 cartridge seems to have gone down well with all of you. Everyone seems to be finding their own favourites from among these new titles designed for vintage computer systems, and a particularly popular choice seems to be The Sword of Ianna, an action adventure platformer that was initially written for the ZX Spectrum before being ported to the MSX2 to take advantage of its enhanced audio-visual capabilities.
The Sword of Ianna is a challenging game, make no mistake, so today we’re going to take a closer look at how to make it through the first level, exploring the various game mechanics along the way. Are you ready? Let’s begin our journey!

After starting the game, you’ll be told that your initial objective is to go to the Fortress of Kashgar and find the monoliths, which will allow our hero Jarkum to hear the voices of his ancestors. From there, he can determine what he needs to do next in his quest to vanquish the evil that is lurking in the land, waiting to strike.
The first few screens are completely safe and give you a good opportunity to get to grips with how Jarkum handles. Use the D-Pad left and right to walk. Hold A and use the D-Pad left and right to run. Press X or push up on the D-Pad to jump. Press X and use the D-Pad left or right (or just press X while you’re walking) to do a forwards jump. Do this from a running start for a longer jump. Get a good feel for how high and far Jarkum can jump; he’s no bouncy Italian plumber, that’s for sure, but he has plenty of agility and strength in his own way. For those who know their retro games, The Sword of Ianna is closer in execution to cinematic platformers like Prince of Persia and Flashback than more exaggerated, cartoonish console platformers. It’s all about precision, timing and understanding the exact capabilities (and limitations) of our hero.

On the second screen, note the platform that is tipped with a skull. This is a platform that you can climb and hang from. The Sword of Ianna typically highlights platforms that you can use in this way; on the first level, skull-tipped platforms are your signal that you can leap for, hang from and climb up them, while in subsequent stages these ledges will be highlighted in other ways.
Get a feel for how to climb down safely by moving to the edge of the platform, facing away from the edge and pressing down on the D-Pad. Climbing down and dropping from a hanging position reduces the distance you fall, and can often make the difference between a safe fall and one where you take damage or even die.
When you’re down on the ground, stand under the ledge and push up on the D-Pad or X to jump straight up, grab the platform and hang from it. Then push up on the D-Pad or X again to climb up. Get used to these moves, as you’ll be using them a lot!
On the next screen, you’ll get a chance to put all of your basic skills to use. Climb up the slope, grab the first skull platform on the right and haul yourself up. Then jump over the gap onto the next platform. If Jarkum doesn’t quite make it, he’ll automatically hang from the ledge. Then climb up to the next screen.

There’s a few important things on this next screen. Firstly, note the large stone door to the right. These are usually opened by pulling switches elsewhere in the level. In this case, the switch is in the same room as the door, but this is most assuredly not always the case! Climb up and pull the switch by standing next to it and pressing A to open the door, but don’t go through it yet.

Instead, drop back down to the lower platform and move to the stack of crates on the left. Press B to draw Jarkum’s weapon, then hold A and press left, up or down on the D-Pad to perform a sword swing that will smash the crates and open a pathway left. Take a moment to get a feel for how Jarkum’s different sword swings work, and how you can chain them together by continuing to hold A and moving in different directions. Note the range that each strike has — this will become important in actual combat. When you’re done, press B to sheathe his sword and proceed through the passageway left you just opened. Jarkum moves more quickly with his weapon sheathed.

The next screen offers a choice of routes. The bottom route has a pit of spikes that will kill Jarkum instantly if he falls into them, so take a running jump to clear them safely. The upper route simply requires you to climb up. Take the top route for now.

On the next screen, you’ll see it’s time for our first fight! Don’t bother drawing your sword before dropping down to the level the goblin is on, because Jarkum will automatically sheathe his weapon if he’s falling. Instead, wait for the patrolling goblin to be on the far left, drop down and draw your sword with B. Then prepare to fight.
Combat in The Sword of Ianna is best handled in a patient, methodical manner rather than trying to be hack-and-slash. Each enemy has its own distinct attack pattern, and usually pauses after striking, giving you an opening to attack. Observe how the goblin moves and attacks, staying out of reach of his strikes, then hit him during a suitable opening.
You can also parry by pressing X or pushing up on the D-Pad while Jarkum’s sword is drawn. If you time this right, you’ll interrupt an enemy’s strike and knock them back slightly, but you won’t deal any damage. Don’t just hold X and hope for the best, though; Jarkum will return to his standard fighting stance after a moment, so you can’t just stand there and “tank”.
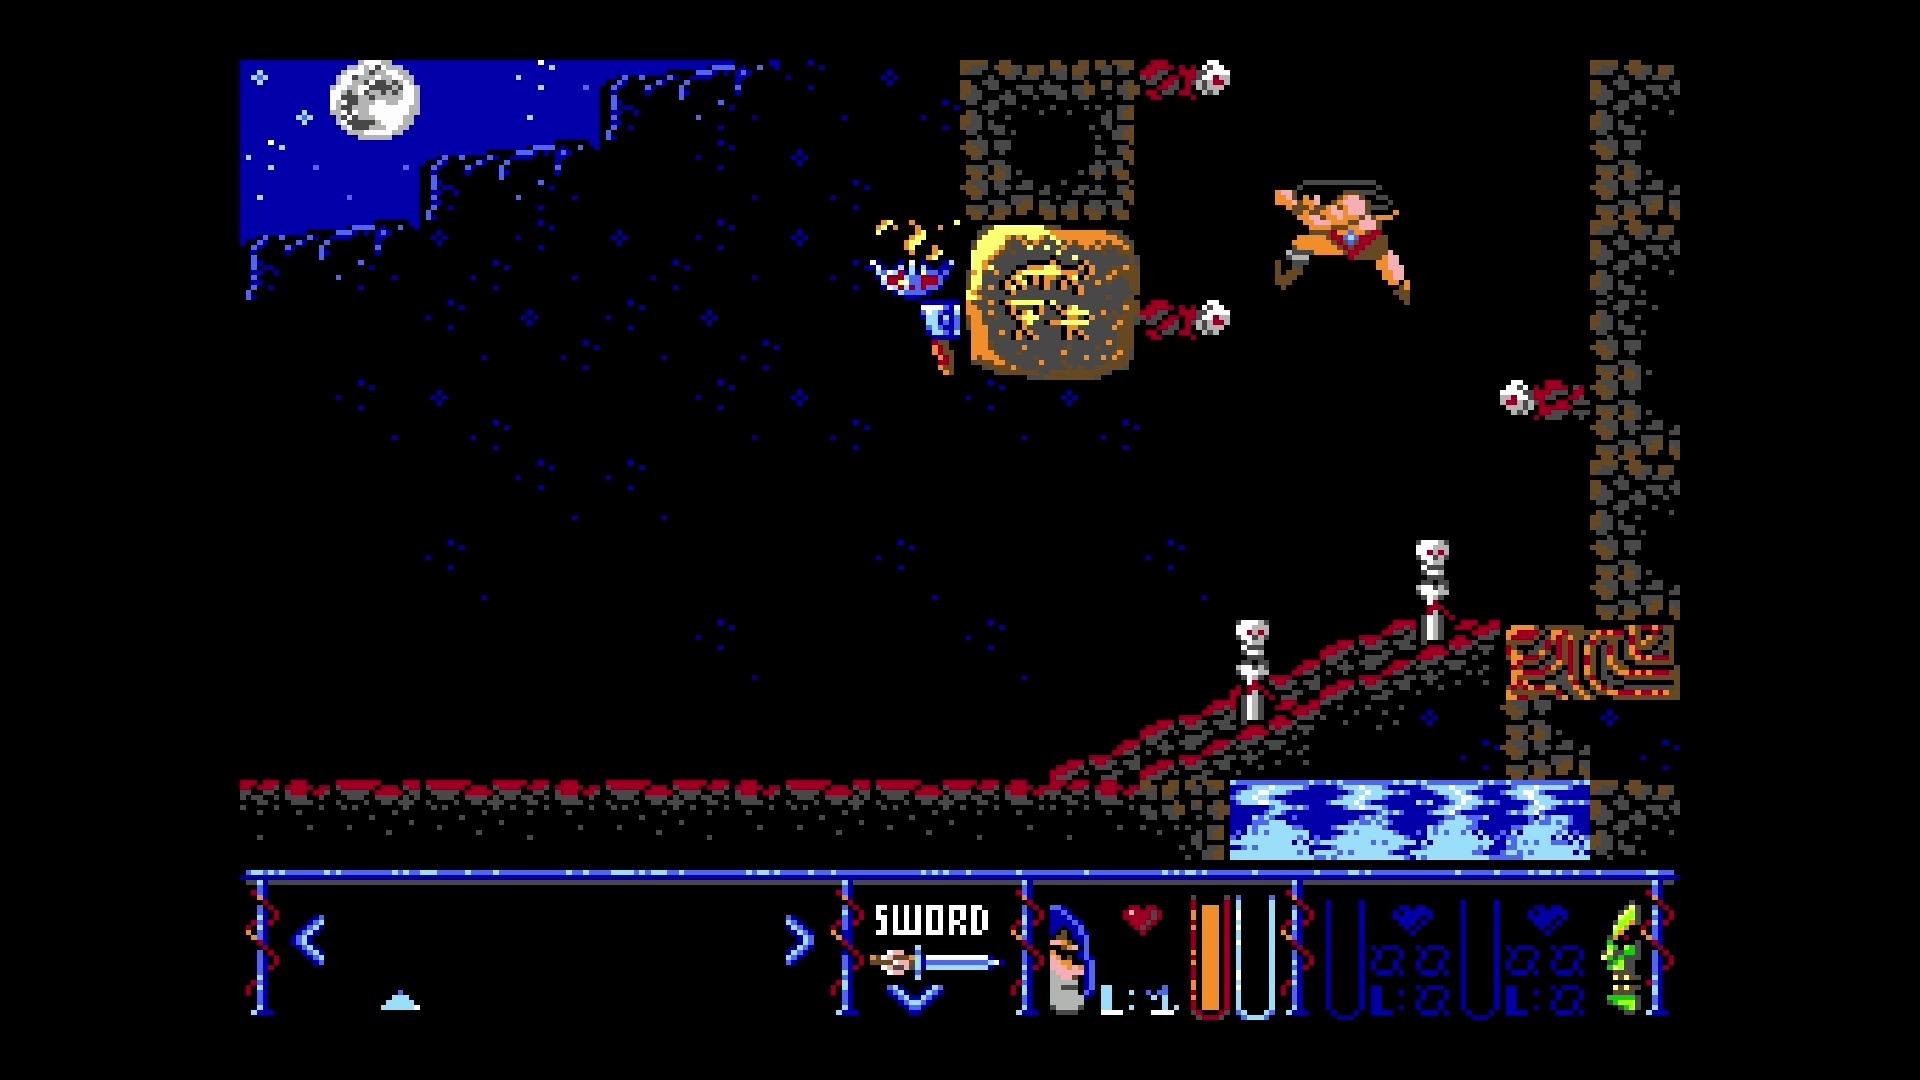
Note the status bar at the bottom of the screen. The “test tubes” with the green outline represent the enemy’s health; there are two because up to two enemies can appear on screen at once. The number next to the tube shows how many hit points the enemy has (“01” in the image above) and the “L:” value indicates what level they are. Higher level enemies hit harder, so take care if Jarkum’s level (shown next to his portrait and health bar) is lower than the enemy he is fighting. At the outset of the game, the damage Jarkum does with his sword is equal to his level, but later in the game you’ll find better weapons that will deal additional damage.
Beat the enemy and notice that the test tube with the turquoise outline fills slightly. This is Jarkum’s experience meter. When it fills, he will be fully healed and will gain a level, increasing both his damage output and the amount of punishment he can take.
Pull the lever and head back to the right.

Take the lower path to get into the little dead-end at the bottom and destroy the crates for a loaf of bread. Food items like this will immediately heal Jarkum if he crouches down to pick them up. It’s a good idea to save them for later if he’s already at full health, as healing opportunities are limited. Now head all the way back to the room with the big stone gate from before, and pass through it.

In the next room, you’ll see another stone gate opens as you enter. This was triggered by the switch that was guarded by the goblin, which is why we went to the left first. There’s nothing else of interest in here, so descend into the pit. The safest way to do so is to clamber down the skull-tipped ledge.

And here’s why! If you’d just dropped down the middle of the pit, Jarkum would fall a long way and hurt or kill himself. So where a climbable platform exists, it’s generally best to use it to climb in and out of pits. Head down the bottom and bonk the goblin on the head until he dies. Notice from the status bar that this one is level 2, with 7 hit points, so he will be a tougher opponent than before.

Once he’s dead, the door on the right will open. Before you go through, smash the crates on the left to reveal another loaf of bread if you need to heal up. Then head out to the right.

This next screen is actually a checkpoint. Checkpoints generally aren’t marked in The Sword of Ianna, but if you die, this is where you’ll be sent back to. You can take advantage of this by returning to this room once you’ve accomplished something; the checkpoint will be updated with any progress you have made. Note that this little exploit doesn’t work with checkpoints that are based on important progress milestones such as unlocking a door with a key (since you can only unlock the door once), but here on the first level it does, so take full advantage. And before you head right, watch out for the spike pit in the water. The water won’t hurt Jarkum, but those spikes sure will, so make a running leap over them.
We’re not going to tell you a full step-by-step solution for the rest of this level, because by this point you should be familiar with all the skills you need to succeed. Instead, here’s a few handy tips that you’ll want to watch out for.

Take care on this screen. While it may look as if Jarkum needs to make a running jump from the upper-right platform to the middle one, if you try and do so he’ll bang his head on the ceiling and fall into the spike pit. Instead, simply walk as far left as you can and do a standing jump (X and D-pad left). This has a lower arc and thus won’t hit the ceiling, and should have enough distance for Jarkum to grasp the ledge on the other side. Bear this in mind any time Jarkum needs to get over an obstacle in a passageway with a low ceiling.

These mummies are dangerous opponents. This specific one is level 2, meaning it both deals and takes a lot of damage, since Jarkum will still be level 1 at the time you encounter it. Beware its two-hit combo, which has quite a range on it. Step back when you see it wind up for an attack, then after it’s struck twice, step in and hit it. Repeat until you come out on top. Remember, patience is the key: better to take a while over a fight than come out of it bleeding to death.

In some crates, you’ll find healing potions. Unlike food, these can be saved for later. To use them, press Y to bring up the menu, use the D-Pad to move the triangle cursor to the item you want to use in the lower-left of the status bar, then A to use. The action pauses while the menu is open, so you can do this mid-combat if necessary. Press Y again to close the menu.

Levers typically affect something a fair distance away. Go back to places you’ve previously been and see if anything has changed. You’ll find that despite the levels seeming quite “open” to begin with, there’s actually a clear linear path through them: you just need to find it, and this sometimes involves doubling back on yourself!

This bit is probably the hardest part of the first level. To reach that switch up top, you need to make a running jump from the very edge of a platform on the next screen to the right. Leave it as late as possible, and Jarkum will just get far enough to grab the platform with the switch and pull himself up.

Towards the end of the first level, you’ll start to encounter skeletons, and there’s a lot of these on the next level, so get used to fighting them! Their main attack is a three-hit combo with quite a reach, but the tactic for beating them is just the same: bait them into attacking, back off while they’re swinging at you (noting that they gradually creep forwards during their combo) then hit them with a sword swipe or two during the opening that follows.

There are some really nasty traps just before the end of the level, and this is one of the nastiest. To clear it, run as fast as you can as soon as you enter the screen, and time your stop so you’re in the right place to clamber down into the second pit. Drop down quickly enough and the boulder will sail harmlessly overhead. If you fail… well, fortunately, the nearest checkpoint is very close.

And when you get to this screen… just run. Run like the clappers. Don’t look back!
The Sword of Ianna is available now as part of the Home Computer Heroes Collection 1 cartridge for Evercade. Find out more here.